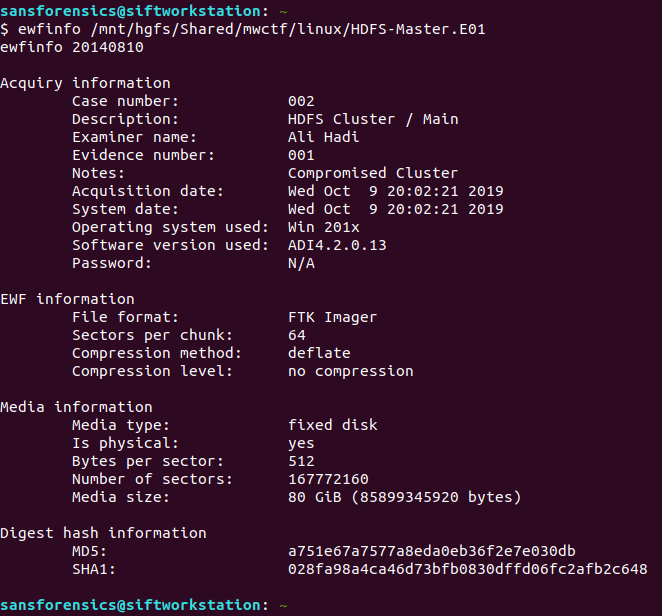
The Magnet Forensics Weekly CTF has been running since October and sets one question each week using an image that changes each month. The October questions were based on an Android filesystem dump. November’s image is Linux, more specifically a Hadoop cluster comprising of three E01 files. The images were created by Ali Hadi as part of his OSDFCon 2019 Linux Forensics workshop; the November CTF questions are based on Case 2, which can be downloaded here.
This week is a little different and split into two parts, with the second part revealed once the first has been successfully answered. You can find my other Magnet Weekly CTF write-ups here.
Part 1 (25 points)
Hadoop is a complex framework from Apache used to perform distributed processing of large data sets. Like most frameworks, it relies on many dependencies to run smoothly. Fortunately, it’s designed to install all of these dependencies automatically. On the secondary nodes (not the MAIN node) your colleague recollects seeing one particular dependency failed to install correctly. Your task is to find the specific error code that led to this failed dependency installation. [Flag is numeric]
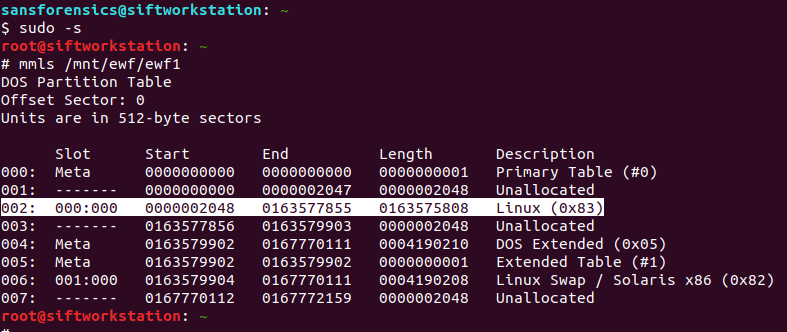
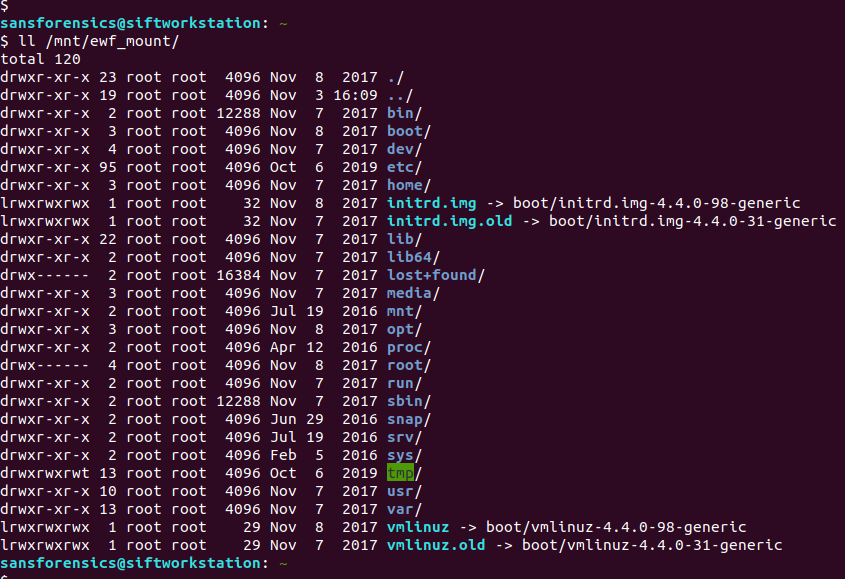
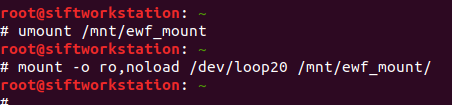
We have three E01 images making up the Hadoop cluster – Master, Slave1, Slave2 – and this time we are looking at either Slave1 or Slave2. I started with Slave1, and mounted the E01 file in the same way as in the Week 5 challenge. From a root shell:
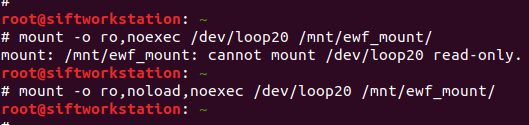
# ewfmount /mnt/hgfs/Shared/mwctf/linux/HDFS-Slave1.E01 /mnt/ewf
# mmls /mnt/ewf/ewf1
# losetup --read-only --offset $((2048*512)) /dev/loop20 /mnt/ewf/ewf1
# mount -o ro,noload,noexec /dev/loop20 /mnt/ewf_mount/
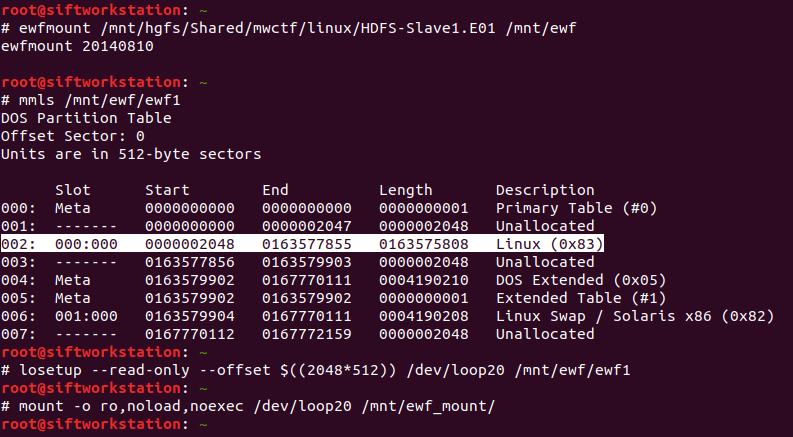
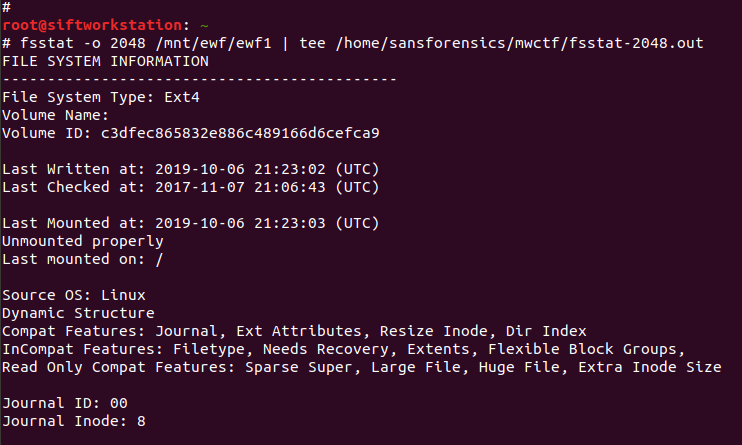
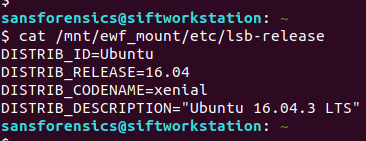
Now we have the main ext4 partition mounted we can get on with the analysis. We are looking for logs relating to package management; checking the release information the underlying system is Ubuntu 16.04 so the APT package manager seems a reasonable place to start looking.
cat /mnt/ewf_mount/etc/lsb-release
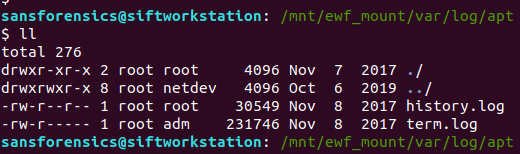
APT keeps two logs under the /var/log/apt directory:
/var/log/apt/history.log
/var/log/apt/term.log
Checking history.log first, I found that the oracle-java7-installer, oracle-java8-installer, and oracle-java9-installer packages all failed to install correctly. Hadoop requires Java to function, so this is looking good.
less /mnt/ewf_mount/var/log/apt/history.log
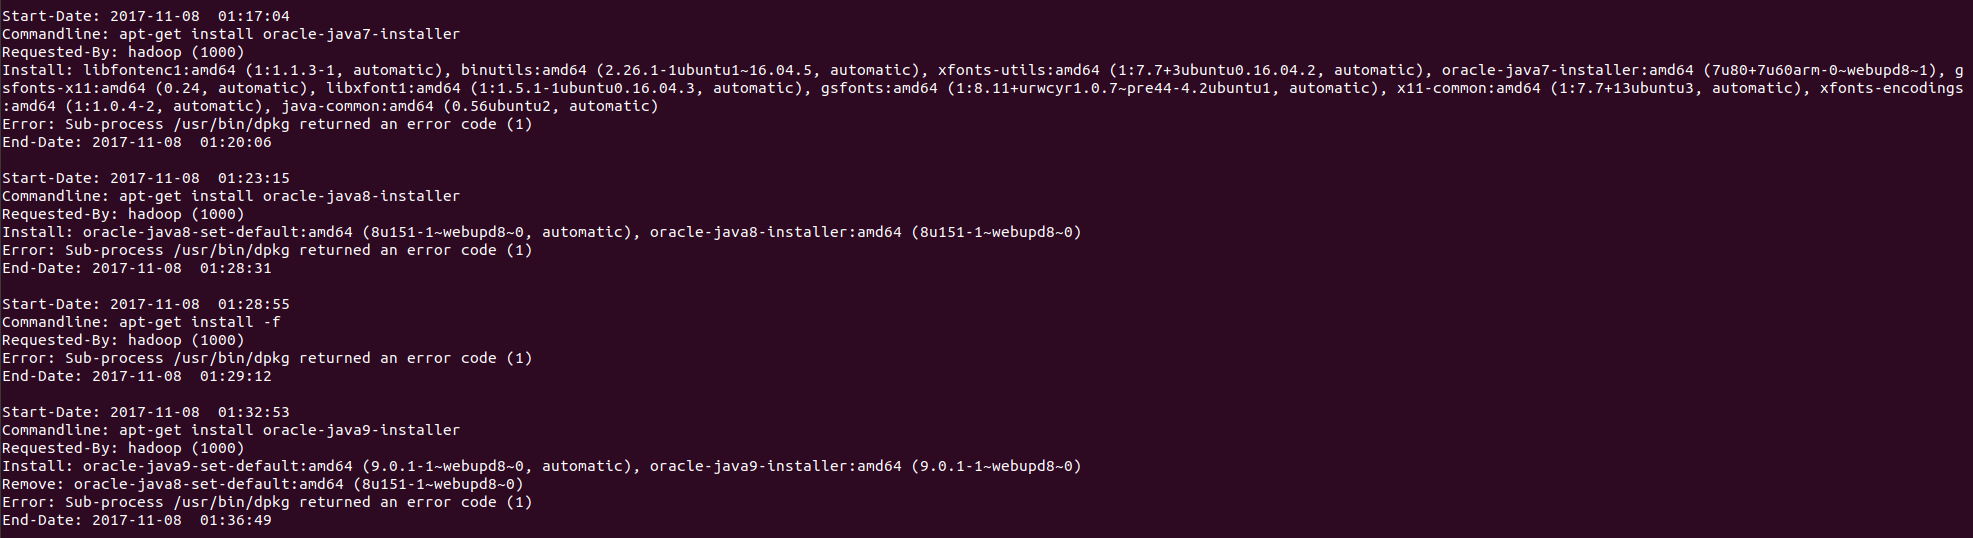
The history.log file shows that the dpkg sub-process failed with error code 1; unfortunately this isn’t the answer we are looking for, so let’s try term.log instead.
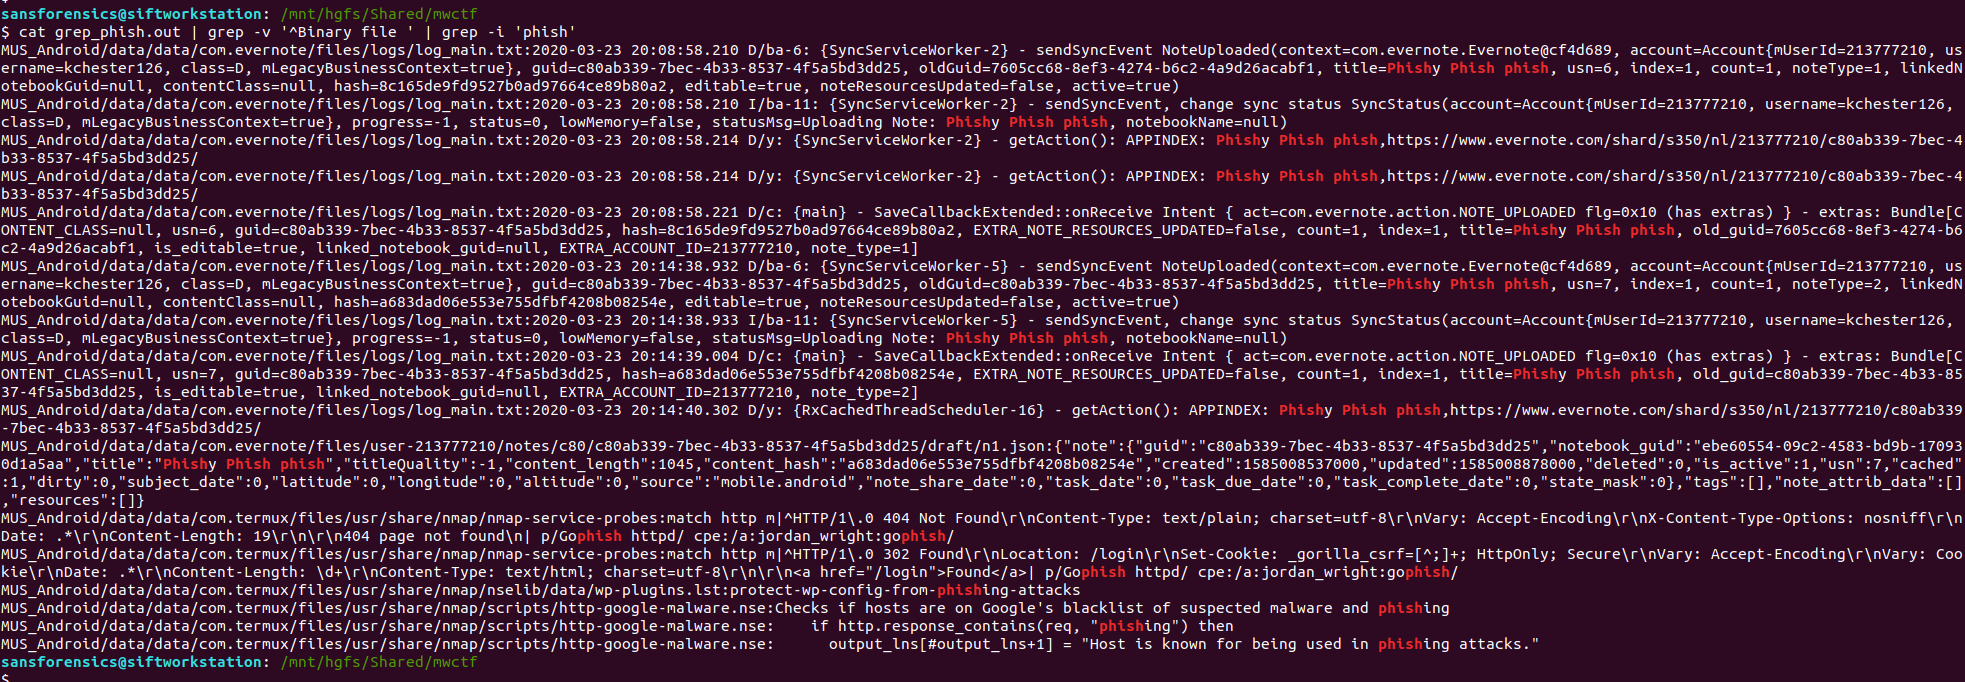
We can quickly filter the errors using grep, with the -C 5 argument to provide some context around the matches.
cat /mnt/ewf_mount/var/log/apt/term.log | grep -C 5 "ERROR"

Examining the grep output from term.log, we find that the oracle-java7-installer package failed to download, resulting in the dpkg error we saw in history.log, but now we see the HTTP 404 error code indicating that the package file was not found. Submit this error code, and we have completed Part 1!
Flag (Part 1)
404
Part 2 (50 points)
Don’t panic about the failed dependency installation. A very closely related dependency was installed successfully at some point, which should do the trick. Where did it land? In that folder, compared to its binary neighbors nearby, this particular file seems rather an ELFant. Using the error code from your first task, search for symbols beginning with the same number (HINT: leading 0’s don’t count). There are three in particular whose name share a common word between them. What is the word?
The question is a bit of a riddle, but given that the oracle-java packages failed to install, and we know from Week 5 that the Java JDK was installed to /usr/local/jdk1.8.0_151 so there’s a starting point. The question also references binary files and ELF, which is a standard binary format on Linux systems, so my guess is that we need to examine the symbol table within the ELF binaries.
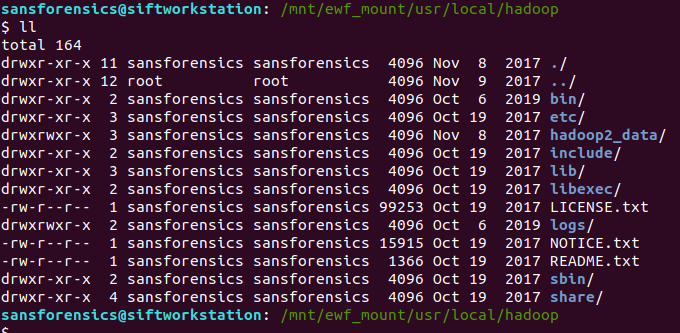
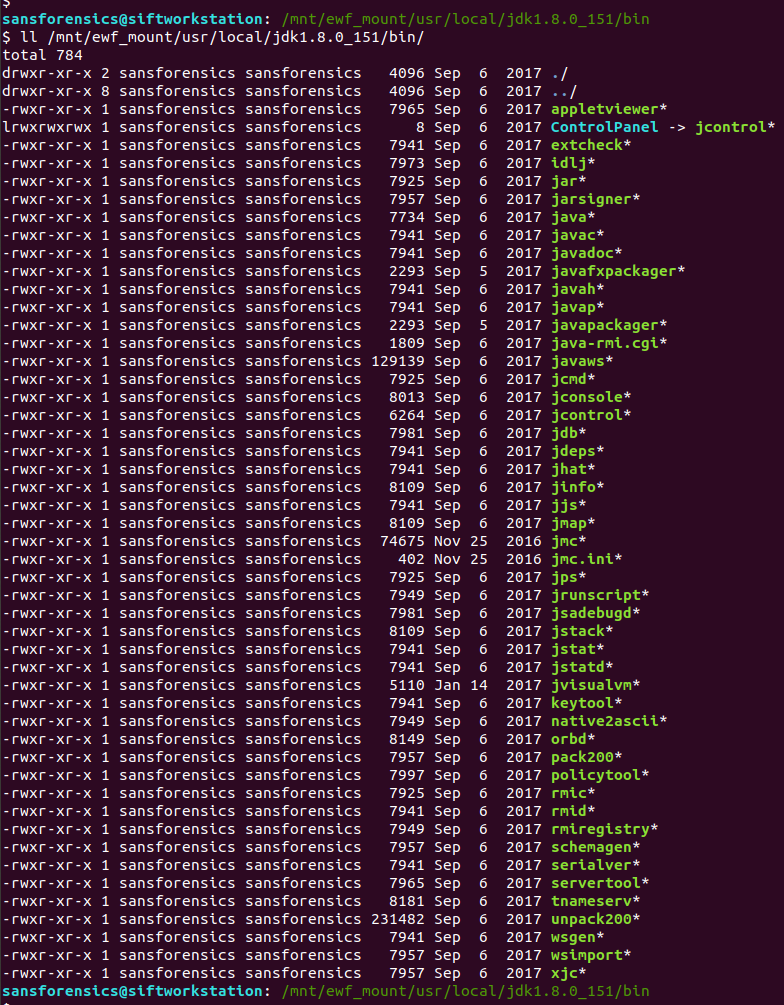
The Java binaries are contained in the /usr/local/jdk1.8.0_151/bin directory.
ll /mnt/ewf_mount/usr/local/jdk1.8.0_151/bin/
We can check the file types using the file command, and filter the ELF executables using grep:
file /mnt/ewf_mount/usr/local/jdk1.8.0_151/bin/* | grep "ELF"
file /mnt/ewf_mount/usr/local/jdk1.8.0_151/bin/* | grep "ELF" | wc -l
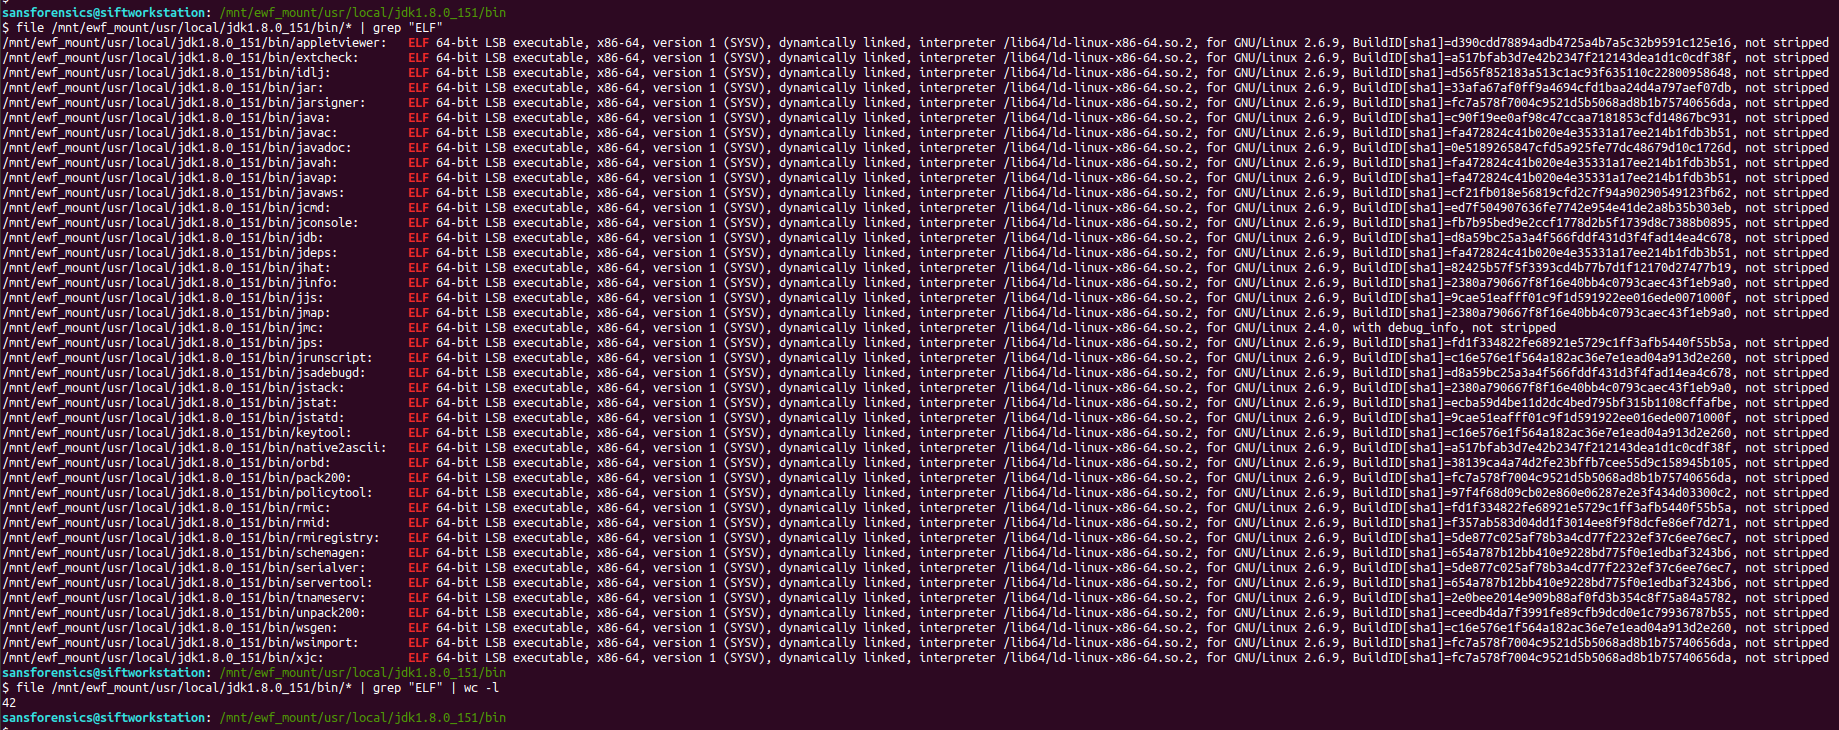
According to the file output there are 42 binaries; we can dump the symbol tables using the readelf utility, but which executable are we looking for? Rather than checking each file individually, I dumped the symbol table from all of the binaries (sending the error messages to /dev/null) and used grep to filter out “404“.
readelf --symbols /mnt/ewf_mount/usr/local/jdk1.8.0_151/bin/* 2>/dev/null | grep 404
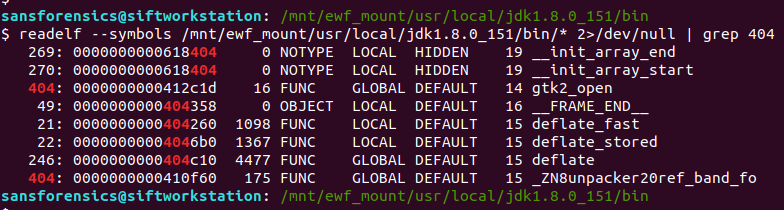
We are looking for a common word, shared between three symbols. One jumps out – deflate.
The answer was accepted but for completeness sake, let’s find out which executable the question referred to.
readelf --symbols /mnt/ewf_mount/usr/local/jdk1.8.0_151/bin/* 2>/dev/null | grep -E "File: |404" | grep -B 1 "deflate"

Employing a bit of grep-fu to tidy things up, we can see that the executable in question is:
/mnt/ewf_mount/usr/local/jdk1.8.0_151/bin/unpack200
Flag (Part 2)
deflate